Vapor Barrier Repair Services Overview
Visitors will learn about vapor barrier repair options and how to connect with local contractors who handle this work.
- - Residential property owners seeking to repair or upgrade vapor barriers in basements or crawl spaces.
- - Commercial building managers needing professional vapor barrier repair to maintain indoor air quality.
- - Property investors or landlords looking to address moisture issues and protect property value through local contractor services.
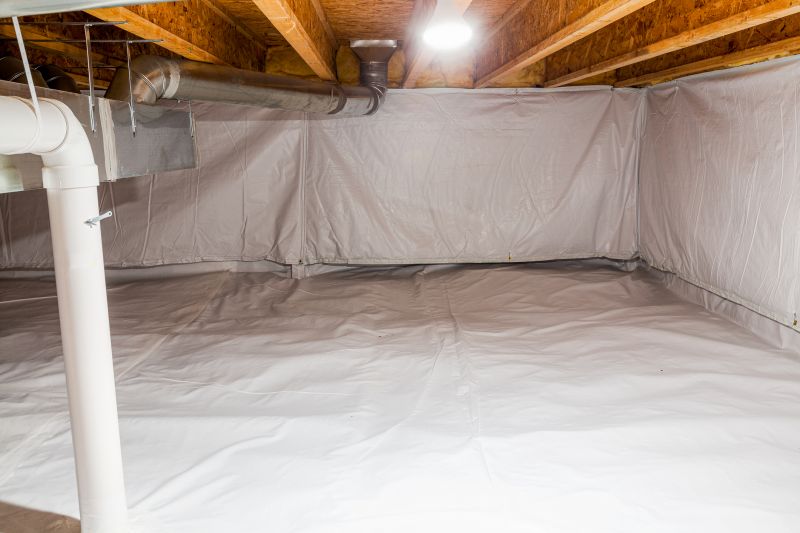
Vapor barrier repair services are essential for property owners experiencing issues related to moisture buildup, mold growth, or deterioration of existing vapor barriers. These professionals specialize in assessing the condition of existing barriers, identifying areas where moisture may be penetrating, and implementing effective repairs to restore proper moisture control. Whether dealing with damaged or aging barriers or addressing specific problems in crawl spaces, basements, or other areas, local contractors provide practical solutions tailored to the needs of each property.
Connecting with experienced local service providers ensures that property owners receive reliable assistance for vapor barrier repairs. These specialists handle a variety of situations, including patching tears, replacing sections, or installing new barriers as needed. By working with trusted local contractors, property owners can expect straightforward, professional service aimed at improving indoor air quality and protecting the integrity of their structures.
This guide provides helpful information to understand the basics of vapor barrier repair and what to consider when planning a project. It assists in comparing and connecting with local contractors who specialize in vapor barrier services. The goal is to help visitors gather key details to make informed decisions before reaching out to local service providers.